Updating your profile
-
Click the avatar in the upper right corner, and then the submenu item “Profile” 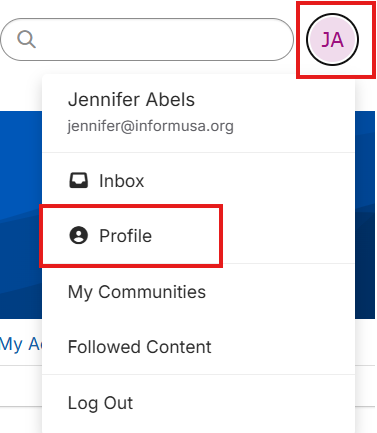
-
On the profile screen, you will be able to edit/update your information, including:
Updating your notification/email settings (frequency of digests)
Please note - there are two types of notifications you will receive from this platform… 1. Community Notifications and 2. Email Communications. Each of those have different settings, described below.
-
First, be sure you are in your profile screen (instructions above).
-
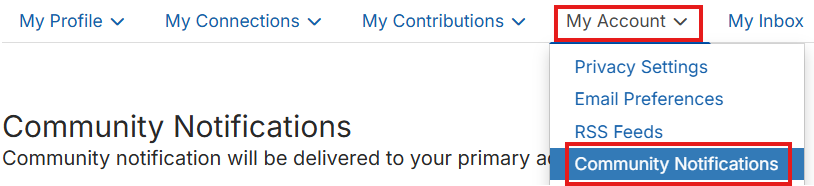
Then, click the menu header labeled “My Account”.
-

-
If you want to change how frequently you receive updates on activity taking place within your communities… select Community Notifications.
-
-
Note: The platform is defaulted to a daily consolidated digest
-
You can choose the frequency of notifications from any individual community, by finding that community in the list, and then selecting the drop down option next to it, and selecting Real Time, Daily Digest, or No Email.
-
If you want to receive only 1 weekly digest of all community activity, you should check “Consolidated Weekly Digest” next to all communities on the right hand side.
-
Once you have clicked all the check boxes, you will then have the ability to choose what day of the week you would like to receive your weekly consolidated digest!
Joining a community
Posting a discussion item
-
Once you are in a community, you can post discussion items that everyone will see.
-
On the right hand side of the screen, click “Post New Message” 
-
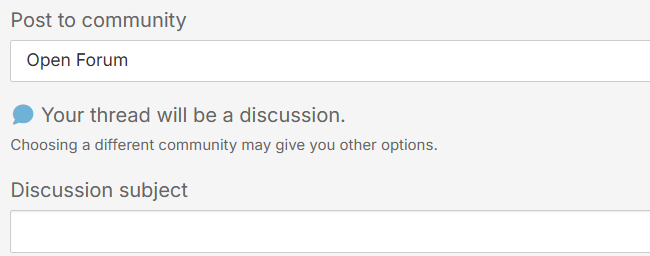
In the Open Forum community (to which everyone belongs), you will be instructed to enter a “Discussion subject”.
-
-
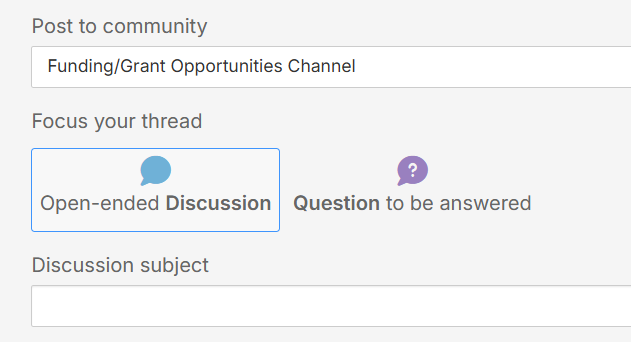
In other communities, you will have the option to identify your post an “Open-ended discussion” or a “Question to be answered”:
-
-
-
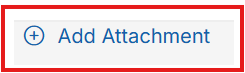
**Please note: The first time you post content, you will have the ability to upload a file. This is located under the text box.
-
-
After it is posted, you are not able to add an attachment. If you really want to add an attachment, you will have to delete your original post and add a new one, or add it as a hyperlink.
Tagging someone in a discussion
-
When creating a post, you can tag another Inform USA member by typing the “@” symbol… and start typing their name. A list of member names will auto-populate for you to select from.
-
It will notify this person via email (if they have that email preference selected). It will also send the message to your inbox within The Connection.
Adding a library item
-
The Resource Library is a very important member benefit… as you can see examples of other Centers’ documentation.
-
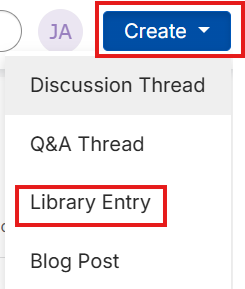
You can share a library item from within a community, or from any screen, you can go click the “Create” button in the upper right corner, and select “Library Entry”
-
-
Resource library
-
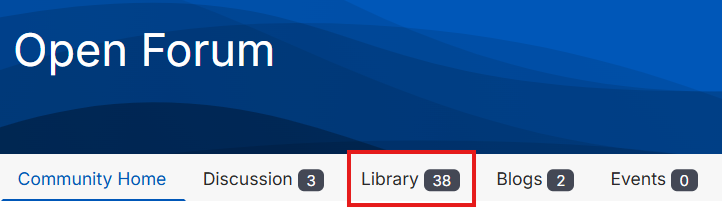
All Communities will have a resource library within them… and the Open Forum (where all members share space) there is a specific Resource Library with folders and subfolders.
-
To navigate to this library, you want to first get to the Open Forum. Once there, click the “Library” menu header:
-
-
Searching by topic
-
In the upper right of any screen, you can use the search bar to type in the content you are looking for
-
However, in this new platform, you are also able to search by Standard (because of tagging). For example, when you type “Standard 14” it will bring up any documents, and any discussion items that have that tag attached: 
Following content
Events listed